Surface Preparation and Installation of Epoxy Coatings
The most important process of installing epoxy coatings to ensure they endure for the long term is proper surface preparation. Epoxies come in many degrees of quality from thin concrete floor paints to heavy duty, high build systems. No matter which one is installed, surface preparation is critical to performance.
Following are steps we take depending on the floor prior to application of epoxy coatings.

Damaged Concrete – Patching System With Epoxy Coatings
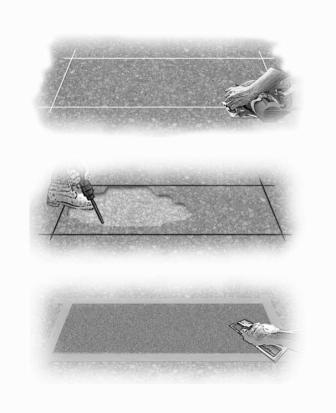
It’s common that we run across spalling concrete like in the illustration. In these cases we’ll start by snaping a chalk line around area to be patched. If possible, we will make the area rectangular in shape so that the finished patch will be more aesthetically pleasing. We make sawcuts in the surface between 1/4” and 1/2” deep.
Then using a chisel or chipping hammer, we remove the concrete or surfacing. We chip from the center of the patch outwards toward the sawcut, not from the sawcut inward. We remove 1/8 – 1/4” of substrate if needed and remove any chipping along perimeter of area to be patched.
We use an epoxy coatings crack repair product to fill the area that is compatible with our primer and top coat system.

Epoxy Coatings Crack Repair
Proper crack repair is extremely important for long term performance and aesthetics.
Cracks larger than a “hairline” and any cracks which are indicative of structural movement should be selected for routing.
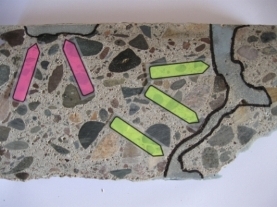
We chip out concrete with a chipping hammer then chip towards center of crack from outside. The width and depth of chamfer should be no less than1/4”. Vacuum debris or blow clean withoil-free compressed air.
Then we pour the filler to fill chamfer , pouring out a bead 3’ – 6” wide over the top of the chamfer, at a thickness of 30 – 60 mils. Finally we feather the edges to avoid bleeding through the epoxy coatings.
For expansion joints we apply a similar process. When possible we will create epoxy coatings with a seamless surface.
Using Epoxy Coatings Over A Cove Base
For creating a totally seamless surface that is easy to clean with water while preventing water from getting under walls, we can apply a cove base with an epoxy coating.
When applying the prime and epoxy coating top coat we snap a line along wall at desired cove base height (2”, 4”, 6”). Then apply tape above chalk line to ensure a neat edge. The cove strips can be specified to improve appearance of top edge.
We apply epoxy to wall and floor in one step using a coving tool. Finally we remove tape revealing a nice crisp line.
Grinding Surface and Application of Epoxy Coatings
One of the most critical steps of the surface prep process is grinding the concrete to open the pores, remove any bond breakers and remove high spots in the floor. A nice smooth surface is created allowing the epoxy coatings to cure with a consistent depth. This increases durability, prevents uneven wear and enhances the flooring aesthetics.
Application of Epoxy Coatings
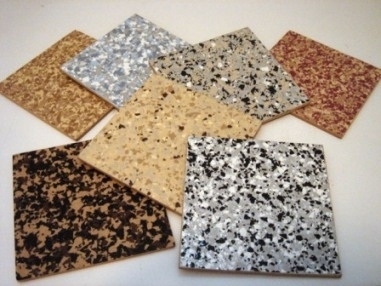
Typically the first coat is a thin primer that soaks into and adheres to what looks like a new floor. If decorative chips are being added this is the time while the primer is still wet. After the primer dries, we scrape any loose chips free and using a leaf blower, blow all excess loose chips free of the floor.
The final application of the epoxy coatings is a high build clear coat that will resist hot tears, chemicals and abrasion.
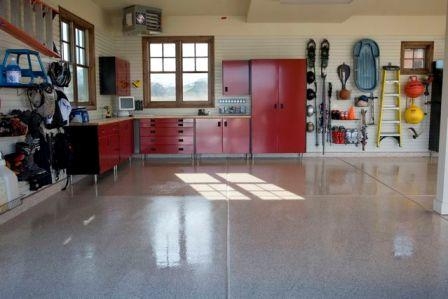
The result is decorative and durable for many years.


