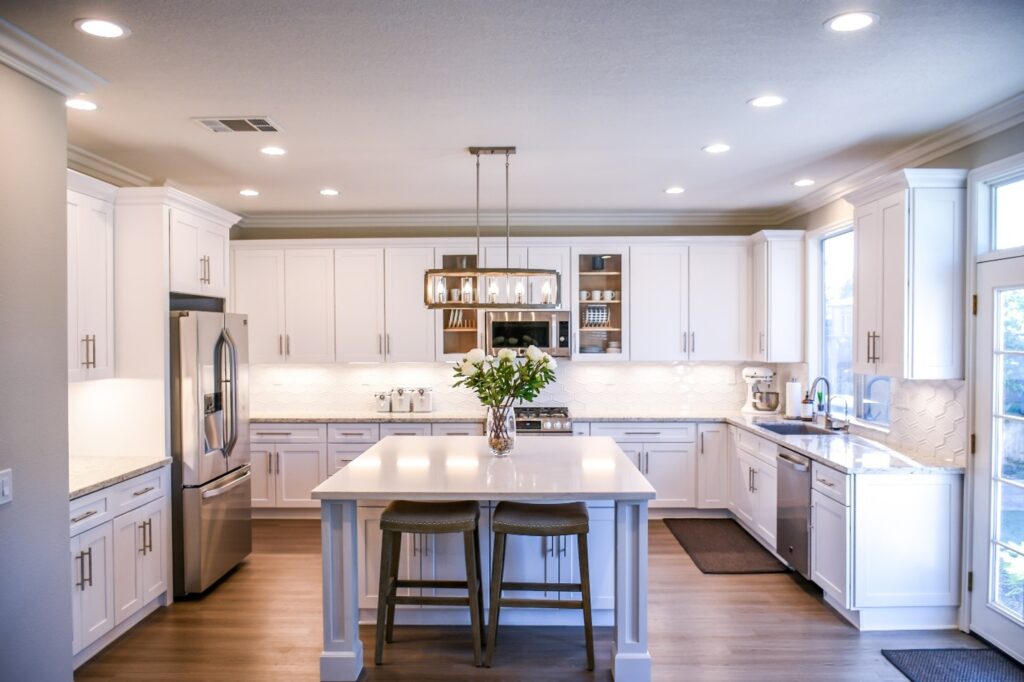
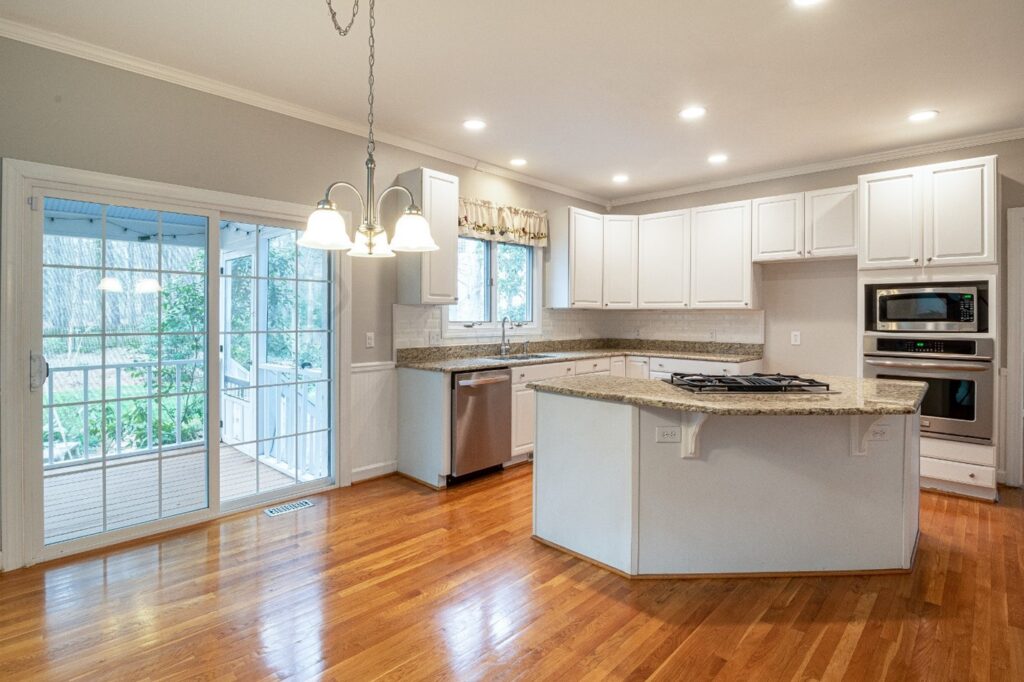
One of the easiest and most cost-efficient ways to give your kitchen an update is by painting your kitchen cabinets. Whether you want a classic white or a more daring color, repainting your cabinets can completely change the look and feel of your kitchen.
Below are five steps we follow when painting interior kitchen cabinets.
5 Easy Steps for Kitchen Cabinet Painting

Step One: Preparing the Cabinets for Painting
The first thing we do is remove all of the hardware from the cabinets, including the hinges, handles, and knobs. Once we remove the hardware, we use a putty knife to fill in any holes or cracks. Next, we sand down the cabinets using fine-grit sandpaper to help create a smooth surface for the paint to adhere. We wipe down the cabinets with a damp cloth after sanding to remove any dust particles.
Step Two: Choosing the Right Paint For Kitchen Cabinets
When it comes to painting kitchen cabinets, wetypically use two types of paint: oil-based paint and water-based paint. Oil-based paint is more durable and provides better coverage, but it can be a challenging material to use. Water-based paint is easier to apply and clean up, but it doesn’t provide as much coverage as oil-based paint. For most cabinet painting projects, we recommend using oil-based paint.
Now that you’ve decided on which type of paint to use, it’s time to choose a color. If you want a classic look, white is always a good choice. If you want something more daring, try a bold color like red or blue. We test out your chosen color on a small section of the cabinet before committing to painting all of the cabinets that color. This sample test area will help you ensure that you like how the color looks in your kitchen and that it goes well with your countertops and backsplash.
Step Three: Applying the Paint To Your Kitchen Cabinets
Once you’ve chosen your color, it’s time to start painting! We begin by applying a coat of oil-based primer (this will help the paint adhere better). Once the primer is dry, we apply two coats of paint using long strokes. Again, we make sure to let each coat of paint dry completely before applying the next coat.
Step Four: Adding Hinges, Knobs, and Handles to Your Kitchen Cabinets
Once the final coat of paint is dry, it’s time to add the hardware back on and enjoy your new kitchen cabinets! If you want extra flair, try swapping out plain cabinet knobs for something more unique, like glass knobs or metal handles.
Updating your kitchen doesn’t have to be expensive or time-consuming – sometimes, all it takes is a fresh coat of paint! By following these five easy steps, we can give your kitchen an updated look that you’ll love without breaking the bank or taking up too much time. So why wait? Call Smith and Company Painting Today!
About Smith and Company Painting
We have been in business for over 60 years in McMinnville, Oregon. We have completed interior and exterior painting and epoxy coatings for home, business, and industrial clients from Salem to Portland, Oregon.

